
Mirror Cutting - Sterescopic Camera Glasses Documentation
Contents
- Safety Note
- Introduction
- Step 1: Insert the Mirror into the Mirror Jig
- Step 2: Score (Cut) the Mirror to Length
- Step 3: Break the Glass
- Step 4: Repeat for the Other Inside Mirror
- Result
Safety Note
Any time glass is being cut and broken there is a potential for injury. Be sure to wear safety equipment and follow safety procedures when performing these steps.
Introduction
The inside mirrors of the stereoscope must be cut, unless a vendor can be found that will pre-cut mirrors to the correct size. 3D printed tools are included with this project to help make the process of scoring and cutting the mirrors easier. Be sure that the tools have been printed before starting this section.
Step 1: Insert the Mirror into the Mirror Jig
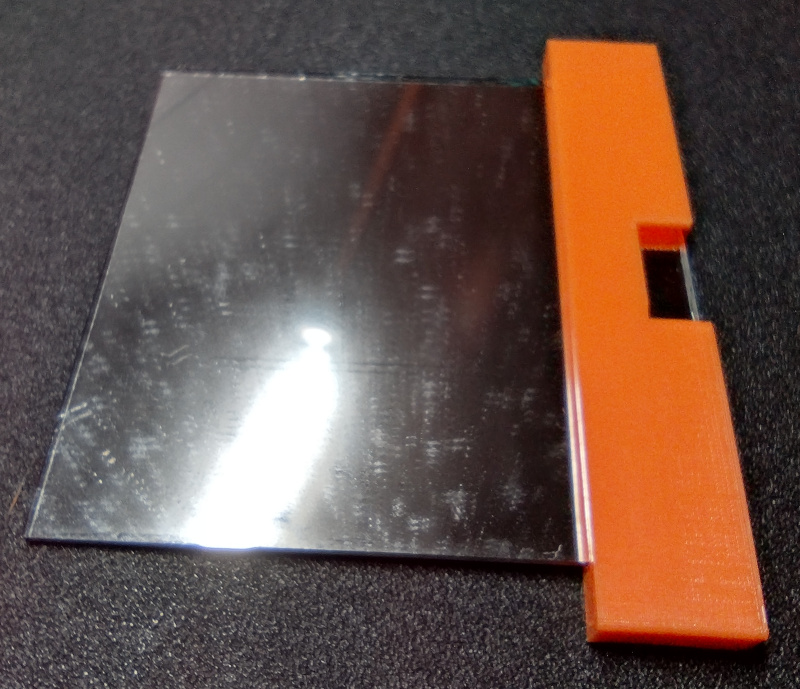
Insert a 50mmx50mm mirror completely into the Mirror Cut Jig as shown in the following illustration. The "M" character denotes the front side of the mirror glass, and this orientation is important when trying to achieve a clean score line. The arrow shows the direction of insertion.

When the mirror is inserted properly, it should look like the following, with the mirror showing in the notch at the bottom of the jig.
Step 2: Score (Cut) the Mirror to Length
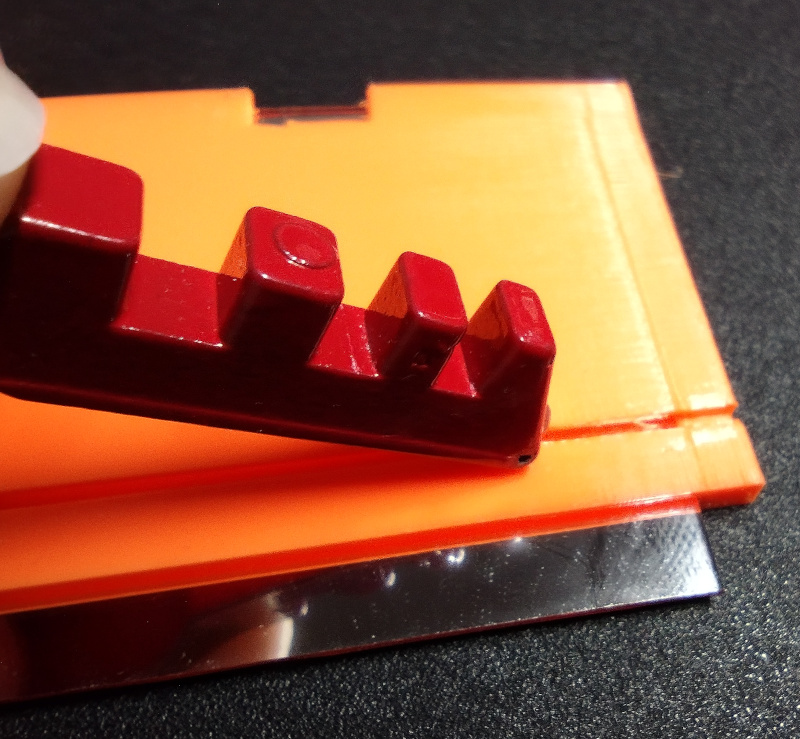
While applying moderate pressure downward with an index finger, draw the glass cutter through the channel to score the mirror. The idea is not to cut through the glass, but to score it so that it can be broken cleanly in the next step. The mirror should be cut all the way across, or the the glass may not break cleanly at the ends of the score.
Step 3: Break the Glass
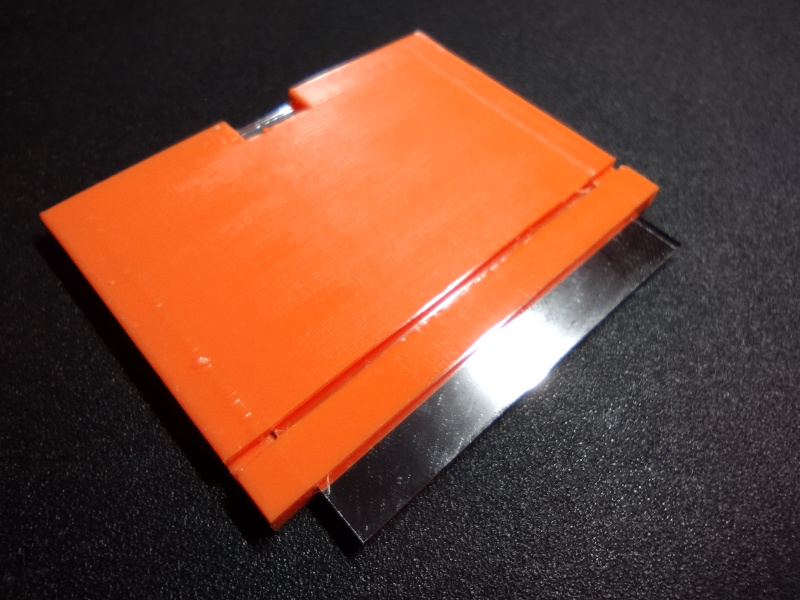
Note: Safety gear should be worn whenever working with glass, but especially during this step.Insert the scored mirror glass into the Mirror Break tool so that the score line is closest to the tool. The arrow again shows the direction of insertion.

Once the mirror is fully inserted into the break, the assembly should look like this.
If the mirror has been scored properly all the way across, twisting the break tool downwards while holding the mirror should cause the mirror to break along the score line.

The shorter piece of mirror glass can be discarded, or better yet, set aside for a future project.
Step 4: Repeat for the Other Inside Mirror
Steps 1 through 3 should not be repeated to create a second 50mmx38mm Mirror.
Result
The result of this process should be two 50mmx38mm mirrors.
© 2018-2026 7B Industries